
Homemade butter is so fun and easy to make. All you need is a mixer, heavy cream, and a mesh strainer. My family always loves to help make our butter since we get a light and fluffy homemade whipped cream when we begin. (Which is the perfect time to turn the mixer off for a quick taste test!) A few minutes later you will end up with homemade butter along with homemade butter milk too. We like to make our butter on the weekends and use our homemade buttermilk to make fresh Buttermilk Biscuits for a Saturday morning breakfast treat.
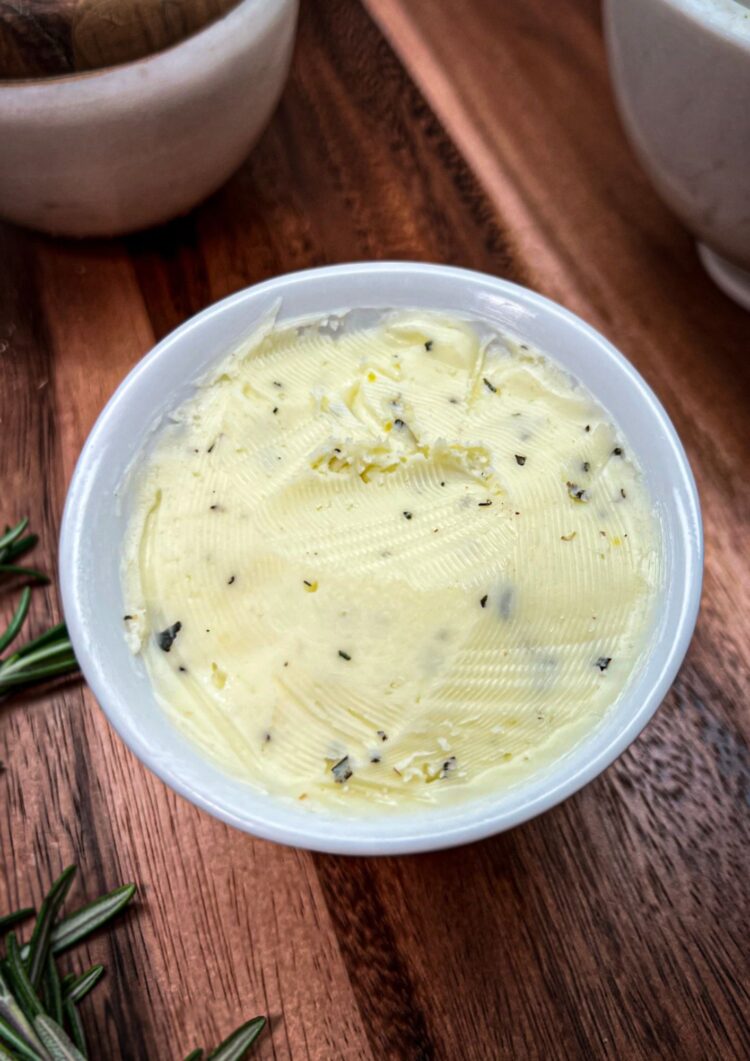
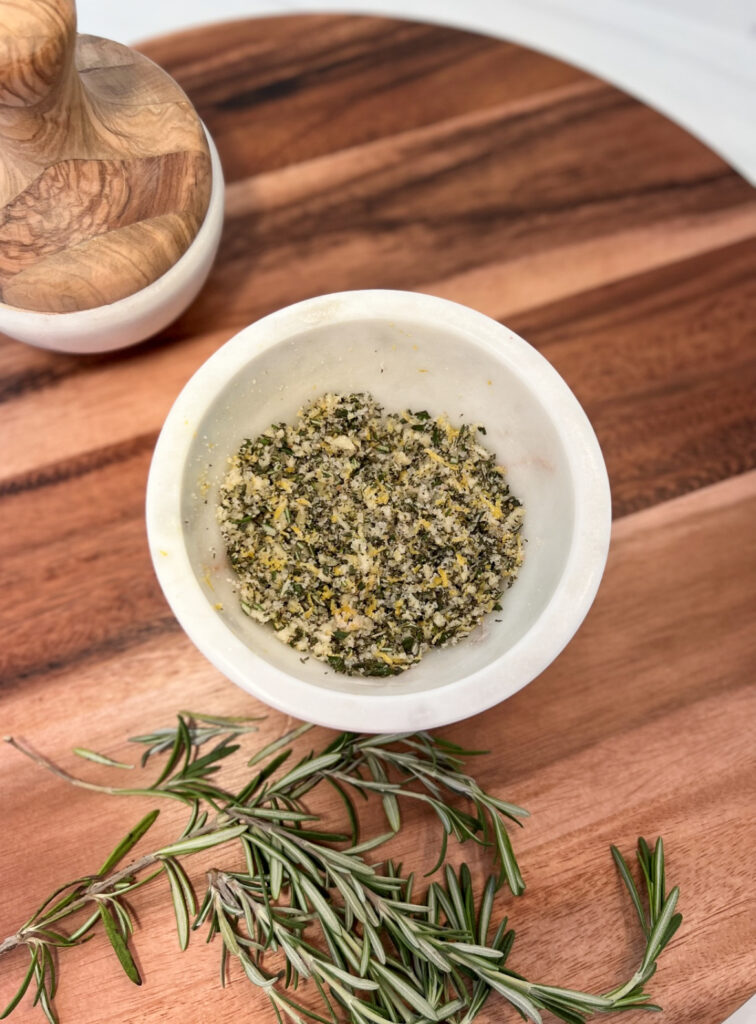
This is my favorite butter recipe. I seasoned this one with my homemade Rosemary Salt seasoning, but you can use salt, cinnamon, herbs, or leave out the seasonings all together for fresh, unsalted, homemade butter! One thing that I love about making butter is that the flavor possibilities are truly endless.
How to make homemade butter
Butter is so easy to make that we do it once a week in my household! This should take you a max of 20 minutes to whip together.
Making homemade butter – Step 1
Pour 1 quart of heavy whipping cream into a mixer. I have found that my kitchen aid with the whisk attachment works the best for this; however, a handheld mixer will do the job too.
Step 2
Whisk on high until the cream begins to separate. It will first become whipped cream, then turn into a very dense whipped cream. Keep whisking past this. Once it begins to separate, it will start to look like cottage cheese. You should see liquid separated in the bowl when you turn the mixer off. The liquid is your buttermilk and the solids are your homemade butter.
Step 3
Add about an oz of cold water to your butter mixture (I put ice in my water when I start the butter to give it time to chill) Mix the cold water into the butter mixture with a spoon. This will help it separate even more. Do not use the whisk attachment here
Step 4
Pour the mixture though a mesh strainer and use a spoon to press the butter down and get all of the buttermilk out. Be sure to place a bowl under the strainer to collect the fresh buttermilk! Repeat this step until you feel that you have gotten all of the buttermilk out. Then, transfer your homemade butter into a glass container with a lid. I like to pack the butter down into the glass container making sure that there are no air bubbles. This will force any last butter milk up to the top of the container. At this point, you want to lay a clean cloth or paper towel on top of the homemade butter and pack it down one last time, allowing the towel to absorb any last bit of buttermilk. The less buttermilk you leave in the butter, the longer it will last in the refrigerator.
(Optional) Step 5
If you are adding seasoning or salt to your butter, you can put the butter back into the mixer with the whisk attachment after the initial straining and before packing it into the glass container to remove the excess buttermilk. Whisk the seasoning into the butter just long enough to make sure that it is well combined. Then, transfer the the glass container and ensure that all of the buttermilk is removed before storing your homemade butter.
Print Recipe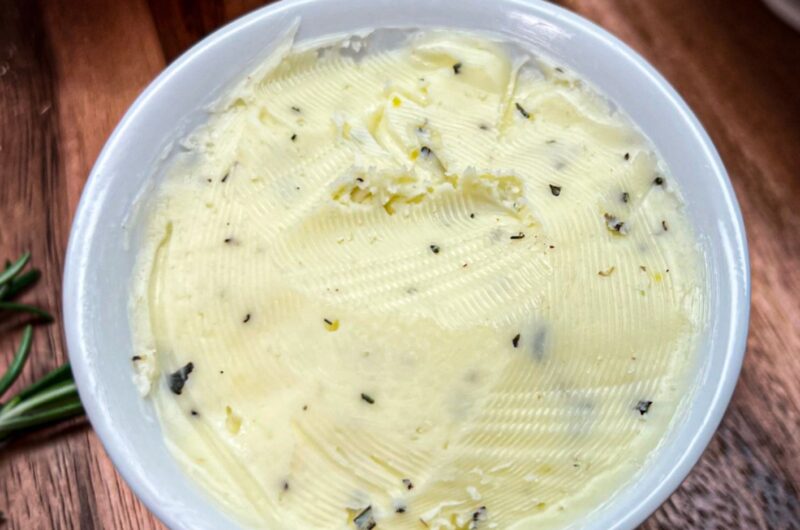
Easy Homemade Butter
20
minutesKeep the screen of your device on
Ingredients
1 Qt Heavy Whipping Cream
1 Tbsp Chilled Water
- (Optional)
To Taste Salt or seasoning of your choice
Directions
- Pour 1 quart of heavy whipping cream into a mixer. I have found that my kitchen aid with the whisk attachment works the best for this; however, a handheld mixer will do the job too.
- Whisk on high until the cream begins to separate. It will first become whipped cream, then turn into a very dense whipped cream. Keep whisking past this. Once it begins to separate, it will start to look like cottage cheese. You should see liquid separated in the bowl when you turn the mixer off. The liquid is your buttermilk and the solids are your homemade butter.
- Add about an oz of cold water to your butter mixture (I put ice in my water when I start the butter to give it time to chill) Mix the cold water into the butter mixture with a spoon. This will help it separate even more. Do not use the whisk attachment here
- Pour the mixture though a mesh strainer and use a spoon to press the butter down and get all of the buttermilk out. Be sure to place a bowl under the strainer to collect the fresh buttermilk! Repeat this step until you feel that you have gotten all of the buttermilk out. Then, transfer your homemade butter into a glass container with a lid. I like to pack the butter down into the glass container making sure that there are no air bubbles. This will force any last butter milk up to the top of the container. At this point, you want to lay a clean cloth or paper towel on top of the homemade butter and pack it down one last time, allowing the towel to absorb any last bit of buttermilk. The less buttermilk you leave in the butter, the longer it will last in the refrigerator.
- (Optional) For seasoning
- If you are adding seasoning or salt to your butter, you can put the butter back into the mixer with the whisk attachment after the initial straining and before packing it into the glass container to remove the excess buttermilk. Whisk the seasoning into the butter just long enough to make sure that it is well combined. Then, transfer the the glass container and ensure that all of the buttermilk is removed before storing your homemade butter.
Equipment
 Kitchen Aid MixerAvailable Here
Notes
- Store in the refrigerator in a sealed container for up to a week.
Like this recipe?
Follow us @madisonsrecipes on Pinterest
My favorite way to serve homemade butter is with Rosemary Salt Seasoning and fresh sourdough bread. The whole family loves it!


